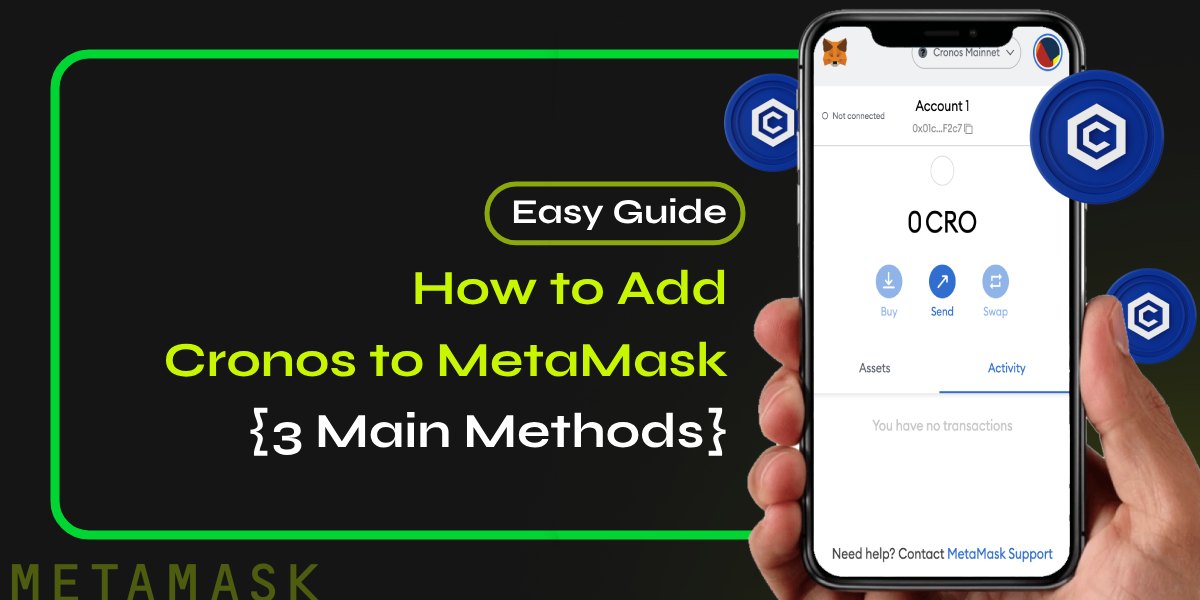
MetaMask is a popular cryptocurrency wallet that allows you to interact with various blockchain networks, including Cronos. Cronos is an Ethereum Virtual Machine (EVM) compatible blockchain that enables interoperability between the Cosmos and Ethereum ecosystems. To use Cronos with your MetaMask wallet, you need to add the network to your wallet. In this article, we’ll guide you through the process of adding Cronos to MetaMask.
📚Related: How to Send Wrapped SOL (wSOL) from MetaMask to Another Wallet or Exchange
What is Cronos?
Cronos is a scalable and permissionless blockchain that aims to bring DeFi and NFT innovations to a wider audience. It is powered by Ethermint, a framework that allows Ethereum-compatible smart contracts to run on Cosmos-based chains. This means that Cronos can leverage the benefits of both Cosmos and Ethereum, such as fast finality, low fees, cross-chain communication, and a rich developer community.
Cronos also integrates with Crypto.org Chain, a fully decentralized and open-source network that supports payments, DeFi, and NFT use cases. The native token of Cronos and Crypto.org Chain is CRO, which is used for gas fees and staking rewards. Users can easily transfer CRO between the two chains via an inter-blockchain communication (IBC) protocol.
Steps to Add Cronos to MetaMask
There are three main methods to add Cronos to your MetaMask wallet:
- Using the CoinCarp EVM Chain List
- Using the official Cronos website
- Manually entering the network details
Let’s go through each method step by step:
Method 1: Using the CoinCarp EVM Chain List
- Go to the CoinCarp EVM Chain List and locate the “Cronos Mainnet Beta”.
- Click “Connect wallet” and select MetaMask to connect your wallet.
- Click “Add To Metamask”.
- Click “Approve” to confirm the addition of the network.
- You will see a confirmation message saying that Cronos has been added to your MetaMask wallet.
- Click “Close” to exit the Notifications tab.
Method 2: Using the Official Website
- Go to the Cronos website and click the “MetaMask Add Cronos” icon at the top right side of the screen.
- This will open up a MetaMask Notifications tab asking your permission to add a Cronos network to your MetaMask account.
- Click “Approve” to confirm the addition of the network.
- You will see a confirmation message saying that Cronos has been added to your MetaMask wallet.
- Click “Close” to exit the Notifications tab.
Method 3: Manually Entering the Network Details
- Open your MetaMask wallet and go to the “Settings” section.
- Select “Networks” from the left-hand menu.
- Click “Add Network” at the top right of the screen.
- Enter the following network details:
- Network Name: Cronos Mainnet Beta
- New RPC URL: https://evm.cronos.org
- Chain ID: 25
- Currency Symbol: CRO
- Block Explorer URL: https://cronos.org/explorer
- Click “Save” to add the network to your MetaMask wallet.
After adding Cronos to your MetaMask wallet, you can switch between networks by clicking on the network name at the top of the wallet interface. You can now use your MetaMask wallet to send and receive CRO tokens, interact with Cronos-based DApps, and participate in the Cronos ecosystem.
Best Cronos DApps for MetaMask
Some of the best DApps built on the Cronos network that you can access using MetaMask include:
- Cronos DeFi: DeFi applications like Cronos DEX, lending platforms, and yield farming protocols.
- Cronos NFT: NFT marketplaces and collections built on Cronos.
- Cronos Games: Play-to-earn games and gaming platforms on Cronos.
To interact with these DApps, make sure you have CRO tokens in your MetaMask wallet and have selected the Cronos network. You can then connect your wallet to the DApp and start using its features and services.
Conclusion
In conclusion, adding Cronos to your MetaMask wallet is a straightforward process that can be done in a few simple steps. By integrating Cronos with MetaMask, you can access a wide range of DeFi, NFT, and gaming applications built on this innovative blockchain network.


