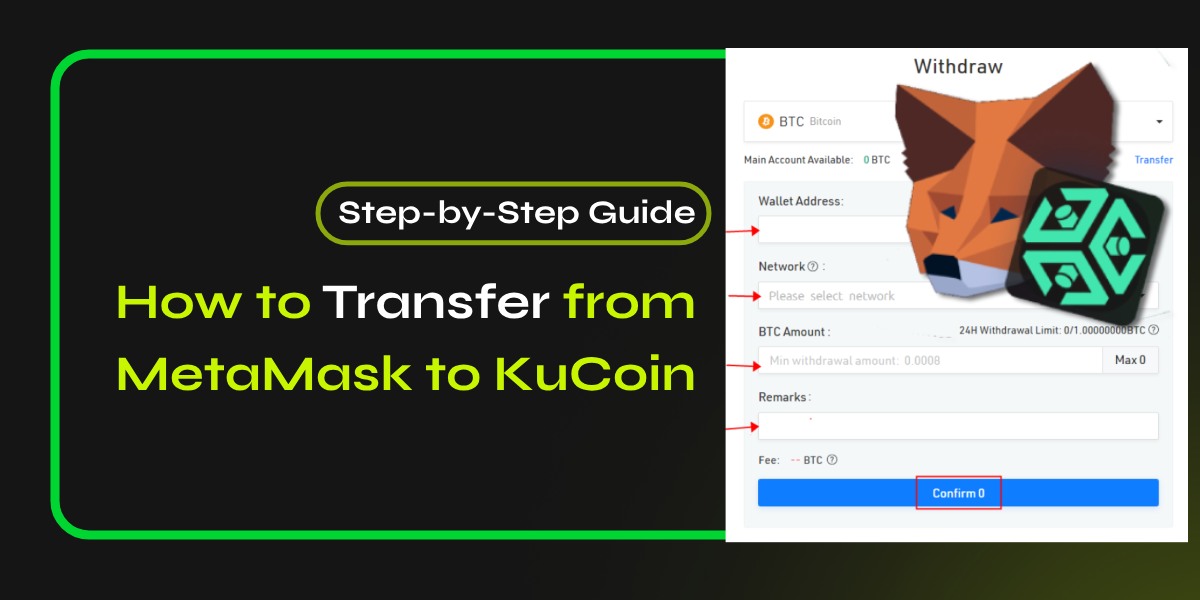
Transferring cryptocurrencies from MetaMask to KuCoin can seem daunting, especially for beginners. However, with a clear understanding of the process, you can easily manage your assets across different platforms. This guide will walk you through the steps necessary to successfully transfer Ethereum (ETH) from your MetaMask wallet to your KuCoin account.
📚Related: How to Add Cronos to MetaMask {3 Main Methods}
Understanding the Basics
Before diving into the transfer process, it’s essential to grasp a few key concepts:
- MetaMask: A popular cryptocurrency wallet that allows users to manage their Ethereum-based assets and interact with decentralized applications (dApps).
- KuCoin: A cryptocurrency exchange that supports a wide range of digital assets, including Ethereum.
- Ethereum Network: Ensure you are aware of the network you are using for the transfer (ERC20 is commonly used for Ethereum).
Now, let’s proceed with the steps for transferring ETH from MetaMask to KuCoin.
Step-by-Step Process to Transfer from MetaMask to KuCoin
Step 1: Log in to Your KuCoin Account
- Open your web browser and navigate to the KuCoin website.
- Log in using your credentials. If you don’t have an account, you’ll need to create one.
Step 2: Get Your KuCoin Deposit Address
- Once logged in, locate the “Assets” tab at the top of the page.
- Click on “Main Account” and then select “Deposit”.
- In the deposit section, search for Ethereum (ETH).
- Choose ERC20 as the network (this is crucial as sending via a different network could result in lost funds).
- Copy the deposit address provided by KuCoin. This address is where you will send your ETH.
Step 3: Open Your MetaMask Wallet
- Open your MetaMask extension in your browser.
- Enter your password if prompted.
Step 4: Initiate the Transfer
- Select “Send” within your MetaMask wallet.
- Paste the KuCoin deposit address that you copied earlier into the recipient field.
- Enter the amount of ETH you wish to transfer.
- Review all details carefully to ensure everything is correct.
Step 5: Confirm and Send
- Click on “Next” after entering the amount.
- Review the transaction details one last time.
- Click on “Confirm” to initiate the transfer.
Step 6: Wait for Confirmation
- After confirming, your transaction will be processed on the Ethereum network.
- You can track the transaction status using a blockchain explorer by entering your transaction hash (TXID) if needed.
Step 7: Check Your KuCoin Account
- After a few minutes (the time may vary depending on network congestion), check your KuCoin account under “Assets” to confirm that the ETH has arrived.
- If it does not appear immediately, wait a bit longer as blockchain transactions can take time.
📚Related: Transfer Funds from Argent to MetaMask: A Step-by-Step Guide
Important Tips
- Double-check Addresses: Always ensure that you are sending ETH to an ERC20 address on KuCoin; sending to an incorrect address can result in permanent loss of funds.
- Transaction Fees: Be aware that transferring ETH incurs gas fees which vary based on network activity.
- Security Measures: Enable two-factor authentication (2FA) on both MetaMask and KuCoin for added security.
FAQs
What cryptocurrencies can I transfer from MetaMask to KuCoin?
You can transfer Ethereum-based tokens and other supported cryptocurrencies.
How long does the transfer process take?
Processing times vary depending on network congestion and transaction fees.
Are there any fees associated with transferring funds?
Yes, transaction fees apply; check MetaMask and KuCoin for details.
Conclusion
Transfer ETH from MetaMask to KuCoin is a straightforward process when broken down into manageable steps. By following this guide, you can confidently move your assets between these platforms while keeping security in mind. Always stay informed about any updates regarding wallet and exchange operations for a seamless experience in managing your cryptocurrencies.
By mastering these transfers, you’ll enhance your ability to trade and manage digital assets effectively across various platforms, making you a more proficient cryptocurrency user.


