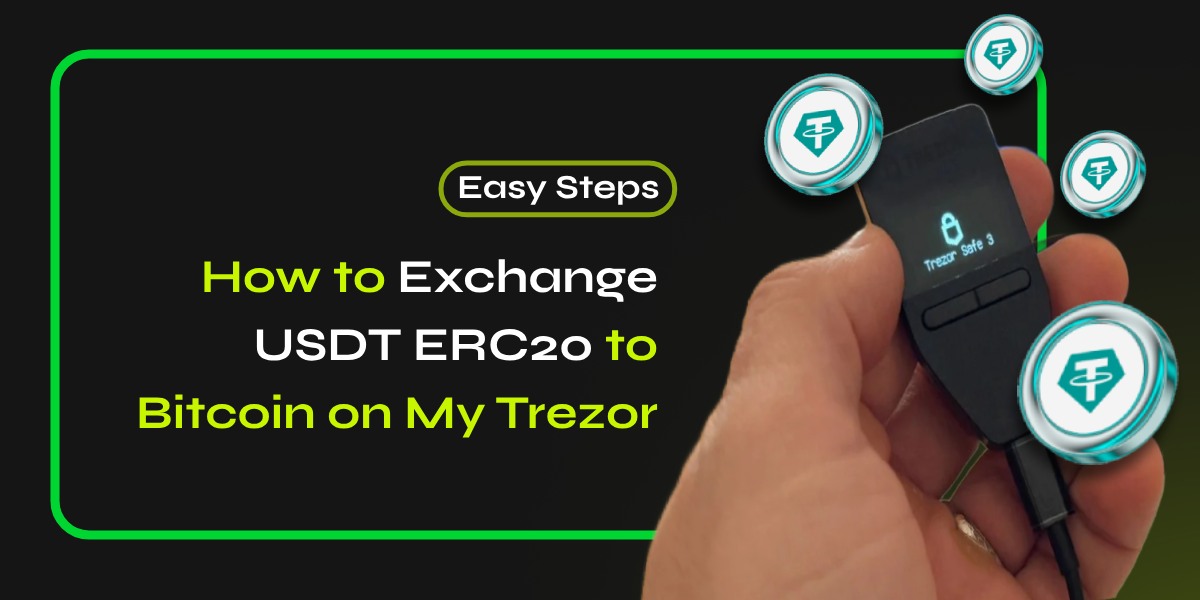
Exchanging USDT ERC20 to Bitcoin on your Trezor can seem daunting, but with the right steps, it’s a straightforward process. This guide will walk you through the necessary steps to successfully exchange USDT ERC20 for Bitcoin on my Trezor while ensuring your assets remain secure.
📚Related: Steps To Transfer Funds from Argent to MetaMask
Understanding Trezor and Its Capabilities
Trezor is a popular hardware wallet that provides a secure way to store cryptocurrencies. It supports various tokens, including USDT (Tether) and Bitcoin (BTC). However, direct exchanges between different cryptocurrencies are not facilitated by Trezor itself. Instead, you’ll need to use an exchange platform that supports both USDT and Bitcoin.
Steps to Exchange USDT ERC20 to Bitcoin
Set Up Your Trezor Wallet
- Ensure your Trezor device is set up and connected to your computer.
- Access your Trezor wallet through the Trezor web interface or compatible wallet software.
Transfer USDT to an Exchange
- Choose a cryptocurrency exchange that supports both USDT and Bitcoin (e.g., Binance, Kraken).
- Create an account on the exchange if you don’t already have one.
- Navigate to the deposit section of the exchange and select USDT.
- Copy the deposit address provided by the exchange.
- From your Trezor wallet, initiate a transfer of your USDT ERC20 tokens to the copied address.
Exchange USDT for Bitcoin
- Once your USDT is deposited into the exchange, navigate to the trading section.
- Select the trading pair for USDT/BTC.
- Enter the amount of USDT you wish to exchange for Bitcoin and review the transaction details.
- Confirm the trade.
Withdraw Bitcoin to Your Trezor
- After successfully exchanging USDT for Bitcoin, go to the withdrawal section of the exchange.
- Select Bitcoin as the asset you want to withdraw.
- Copy your Trezor Bitcoin address from your wallet interface.
- Paste this address into the withdrawal form on the exchange and confirm the withdrawal.
Verify Your Transaction
- Monitor your Trezor wallet for incoming transactions.
- Once confirmed, your Bitcoin will be securely stored in your Trezor wallet.
📚Related: How to Unlock Borrow on Cash App – Borrow $200 from Cash App
Tips for a Smooth Exchange Process
- Double-Check Addresses: Always verify that you are sending cryptocurrencies to the correct addresses. Sending coins to an incorrect address can result in permanent loss of funds.
- Use Reputable Exchanges: Choose well-known exchanges with a good reputation for security and customer support.
- Consider Transaction Fees: Be aware of any fees associated with transferring cryptocurrencies and trading on exchanges.
- Stay Updated: Cryptocurrency markets can be volatile. Keep an eye on market conditions before making trades.
Conclusion
Exchanging USDT ERC20 to Bitcoin on your Trezor involves using an external cryptocurrency exchange. By following these steps, you can securely manage your assets while taking advantage of market opportunities. Always prioritize security by using reputable platforms and ensuring that your transactions are verified before proceeding. Now you’re ready to exchange USDT ERC20 to Bitcoin on my Trezor with confidence!


